Introduction to Easy Saucepan Brownies
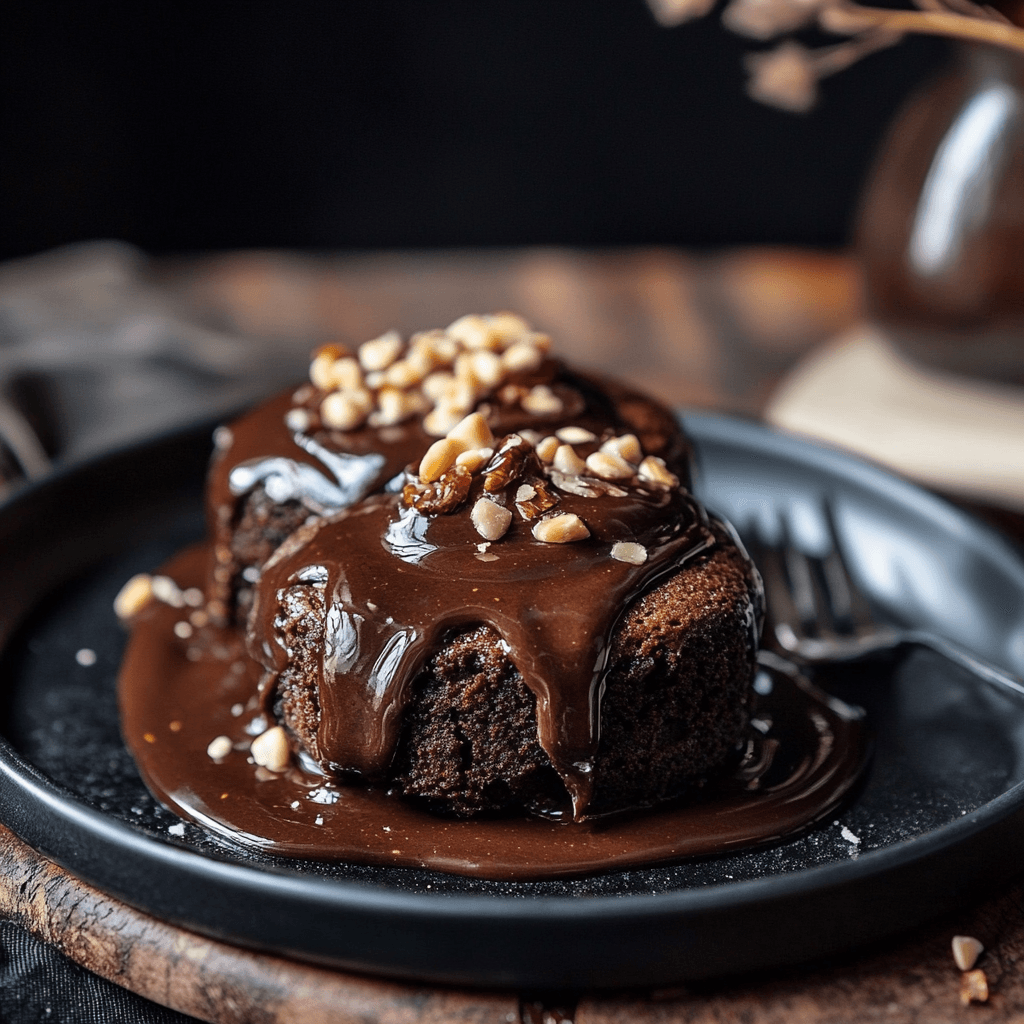
When it comes to homemade desserts, few things are as comforting as warm, gooey brownies. But if you’re short on time or just not in the mood for a sink full of dishes, saucepan brownies are your new best friend. This simple, one-pot method cuts down on cleanup without cutting corners on taste.
Why Use a Saucepan for Brownies?
Making brownies in a saucepan allows you to melt the butter, mix the batter, and stir everything together in one place. It not only saves time and effort, but also helps blend ingredients more evenly—especially when you’re using cocoa powder or chocolate. The heat of the pan helps bloom the cocoa and enhances that rich, deep chocolate flavor.
Perfect for Beginners and Busy Bakers
Whether you’re a first-time brownie maker or just looking for an easier way to satisfy a chocolate craving, this recipe is for you. With straightforward ingredients and minimal prep, saucepan brownies deliver all the indulgence of traditional recipes with less mess, fewer tools, and no fuss.
Benefits of the One-Pot Brownie Method
There’s a reason saucepan brownies are becoming a go-to for home bakers. This method simplifies the process without sacrificing flavor, texture, or that classic gooey center everyone loves.
Fewer Dishes
Since everything—from melting the butter to mixing the batter—happens in one pot, there’s no need for extra bowls, mixers, or measuring cups (aside from the essentials). Less cleanup = more time to enjoy your brownies.
Quicker Cleanup
With only a saucepan, spatula, and baking pan to wash, cleanup takes just minutes. It’s the perfect solution for weeknight baking, last-minute desserts, or when you’re short on kitchen space.
Efficient Melting and Mixing
Warming the butter or chocolate directly in the pan allows for:
- Better cocoa blooming, which enhances chocolate depth
- Easier sugar incorporation
- Smoother batter with fewer clumps
It’s not just convenient—it actually makes the brownies better.
Must-Have Ingredients for Saucepan Brownies
Simple ingredients, smart choices. While this recipe is unfussy, using quality staples can elevate your saucepan brownies from basic to bakery-worthy.
Pantry Staples
- All-purpose flour – A small amount for structure without making the brownies cakey
- Granulated sugar – Sweetens and helps form that signature crackly top
- Unsweetened cocoa powder – For bold, deep chocolate flavor
- Salt – Enhances sweetness and balances richness
- Vanilla extract – Adds depth and warmth
Best Chocolate and Cocoa Choices
- Use unsweetened cocoa powder for ease and bold chocolate flavor
- Or melt in a few ounces of dark or semisweet chocolate chips or chunks for added richness and fudginess
- For best results, try brands like Ghirardelli, Guittard, or Valrhona
Butter vs Oil
- Butter gives your brownies a rich, classic flavor with a soft crumb
- Oil (like canola or coconut) can make them extra moist, but may lack that buttery taste
- Best option: Use melted butter in the saucepan for both flavor and texture
Tip: If you’re dairy-free, vegan butter or coconut oil can be used as a seamless swap.
Recommended Tools and Cookware
One of the best things about saucepan brownies is that you don’t need fancy equipment. Just a few basic tools will help you create perfect, fudgy brownies every time.
Choosing the Right Saucepan
- Use a medium-sized, heavy-bottomed saucepan (about 2–3 quarts).
- Avoid very thin pans, as they may cause the butter or chocolate to scorch.
- A nonstick or stainless steel pan works well—just be sure to stir gently if using nonstick.
Baking Pans and Utensils
- A standard 8×8-inch or 9×9-inch square baking pan is perfect for this recipe.
- Use parchment paper for easy lifting and clean edges.
- A rubber spatula helps scrape the saucepan and spread the batter smoothly into the pan.
Optional Extras
- Whisk – For mixing wet ingredients thoroughly in the pan.
- Toothpick or cake tester – To check doneness without overbaking.
- Cooling rack – Allows brownies to cool evenly without becoming soggy on the bottom.
How to Make Easy Saucepan Brownies: Step-by-Step Recipe
This one-pot brownie recipe is perfect for beginners and busy bakers. With simple steps and fewer dishes, you’ll have rich, fudgy brownies ready in no time.
Ingredient List
- 1/2 cup (1 stick) unsalted butter
- 1 cup granulated sugar
- 2 large eggs
- 1 tsp vanilla extract
- 1/3 cup unsweetened cocoa powder
- 1/2 cup all-purpose flour
- 1/4 tsp salt
- Optional: 1/2 cup chocolate chips or chopped dark chocolate
Detailed Cooking Method
- Preheat oven to 325°F (163°C). Line an 8×8-inch baking pan with parchment paper or lightly grease.
- In a medium saucepan over low heat, melt the butter. Remove from heat.
- While still warm, stir in the sugar, cocoa powder, and vanilla until smooth and well combined.
- Whisk in the eggs, one at a time, mixing well after each addition.
- Add flour and salt, and fold in gently with a spatula until just combined.
- Stir in chocolate chips or chunks if using.
Baking and Cooling Tips
- Pour the batter into the prepared pan and smooth the top.
- Bake for 22–28 minutes, or until a toothpick inserted near the center comes out with moist crumbs.
- Let cool in the pan for at least 15 minutes before lifting out and slicing.
Pro Tip: For clean cuts, cool completely and use a sharp knife wiped clean between slices.
Texture Tips: Getting That Fudgy Brownie Perfection
The beauty of saucepan brownies is how rich and gooey they can be—if you handle the batter just right. These tips will help you achieve that perfect, fudgy texture every time.
Mixing Tips
- Don’t overmix once the flour goes in. Stir just until combined to avoid developing too much gluten, which can make brownies cakey or tough.
- Mix vigorously when adding the eggs and sugar—this helps create a shiny, crackly top.
- Use a rubber spatula to fold gently and scrape down the sides of the pan thoroughly.
Baking Time Tricks
- Start checking brownies at 22 minutes. The edges should be set, and the center should look slightly underdone.
- Slight underbaking is key to fudgy texture—the brownies will firm up as they cool.
- If you like them gooier, aim for the lower end of the baking time. If you prefer more structure, bake slightly longer.
Toothpick Test for Doneness
- Insert a toothpick into the center:
- Fudgy brownies: moist crumbs (not wet batter) = done.
- Cakey brownies: mostly clean toothpick.
- Avoid baking until the toothpick is completely clean—that usually means they’re overdone.
Customizing Saucepan Brownies
Once you master the base recipe, there are endless ways to make these brownies your own. Whether you’re adding flavor, texture, or adapting for dietary needs, here’s how to personalize your one-pot brownies.
Add-ins: Nuts, Chocolate Chips, Swirls
- Nuts: Stir in 1/2 cup chopped walnuts, pecans, or almonds for crunch.
- Chocolate chips: Add dark, milk, or white chocolate chips for melty pockets of flavor.
- Swirls: Gently swirl in 2–3 tablespoons of:
- Peanut butter
- Salted caramel
- Nutella
- Cream cheese
Tip: Drop your swirl topping in small dollops on top of the batter, then drag a knife or skewer through for a marbled look.
Diet-Friendly Adaptations
- Gluten-free: Use a 1:1 gluten-free flour blend like Bob’s Red Mill or King Arthur.
- Dairy-free: Substitute butter with coconut oil or vegan butter and use dairy-free chocolate.
- Low-sugar: Replace sugar with monk fruit sweetener, coconut sugar, or another baking-safe alternative.
Always test small batches when making substitutions to ensure the texture and flavor still meet your expectations.
Common Mistakes to Avoid
Even simple recipes like saucepan brownies can go sideways with a few missteps. Here’s how to avoid the most common errors and ensure a rich, gooey result every time.
Overheating Chocolate
- Melting butter and cocoa or chocolate directly in a saucepan is efficient—but be careful with heat.
- Use low heat and stir constantly to prevent burning or seizing.
- If using chopped chocolate instead of cocoa powder, remove the pan from heat before fully melted and stir to finish.
Undermixing or Overmixing
- Undermixing can lead to uneven texture or pockets of flour.
- Overmixing after adding flour activates gluten, making brownies dense or cakey.
- Mix just until ingredients are combined and smooth—especially once flour is added.
Incorrect Baking Times
- Overbaking dries out brownies and dulls their flavor.
- Underbaking too much can leave the center raw.
- Always start checking at the minimum suggested time, and use the toothpick test (moist crumbs = done).

Gluten-Free and Dairy-Free Saucepan Brownie Options
Want to enjoy fudgy, one-pot brownies without gluten or dairy? Great news—you can! These simple swaps make your recipe allergy-friendly and just as delicious.
Ingredient Swaps
For gluten-free brownies:
- Use a 1:1 gluten-free flour blend (e.g., King Arthur Measure for Measure or Bob’s Red Mill).
- Avoid almond flour unless you’ve tested the batch—it can make brownies more crumbly.
For dairy-free brownies:
- Replace butter with:
- Vegan butter (like Earth Balance or Miyoko’s)
- Coconut oil for added moisture and subtle flavor
- Use dairy-free chocolate chips or chunks, such as:
- Enjoy Life
- Hu Kitchen
- Lily’s (sugar-free and dairy-free)
Recommended Substitutions
| Ingredient | Dairy-Free Swap | Gluten-Free Swap |
|---|---|---|
| Butter | Coconut oil or vegan butter | — |
| Chocolate chips | Dairy-free dark chocolate | Certified gluten-free chocolate |
| All-purpose flour | — | 1:1 gluten-free flour blend |
Pro tip: Bake times may vary slightly—gluten-free versions can be slightly softer in the center, so allow to cool completely before slicing.
How to Store, Freeze, and Reheat
Saucepan brownies aren’t just great fresh out of the oven—they store beautifully too. Whether you’re planning ahead or saving leftovers, here’s how to keep them delicious.
Keeping Them Moist
- Once cooled, store brownies in an airtight container at room temperature for up to 4 days.
- Place a piece of parchment paper between stacked layers to prevent sticking.
- For extra softness, store with a slice of bread inside the container—it helps retain moisture.
Freezing in Portions
- Cut brownies into squares and wrap each piece tightly in plastic wrap or foil.
- Store in a zip-top freezer bag for up to 3 months.
- Label with the date and thaw instructions for easy snacking later.
Best Reheating Methods
- Microwave: Unwrap and place on a plate. Heat for 10–15 seconds for a gooey, just-baked texture.
- Oven: Reheat at 300°F (150°C) for 8–10 minutes if warming a full batch or if you prefer crispier edges.
Tip: Always reheat just before serving for maximum freshness and softness.
Serving Ideas for Saucepan Brownies
Want to elevate your saucepan brownies into something special? Here are creative and crowd-pleasing ways to serve them for any occasion.
With Ice Cream or Whipped Cream
- A warm brownie topped with a scoop of vanilla or salted caramel ice cream is a classic pairing.
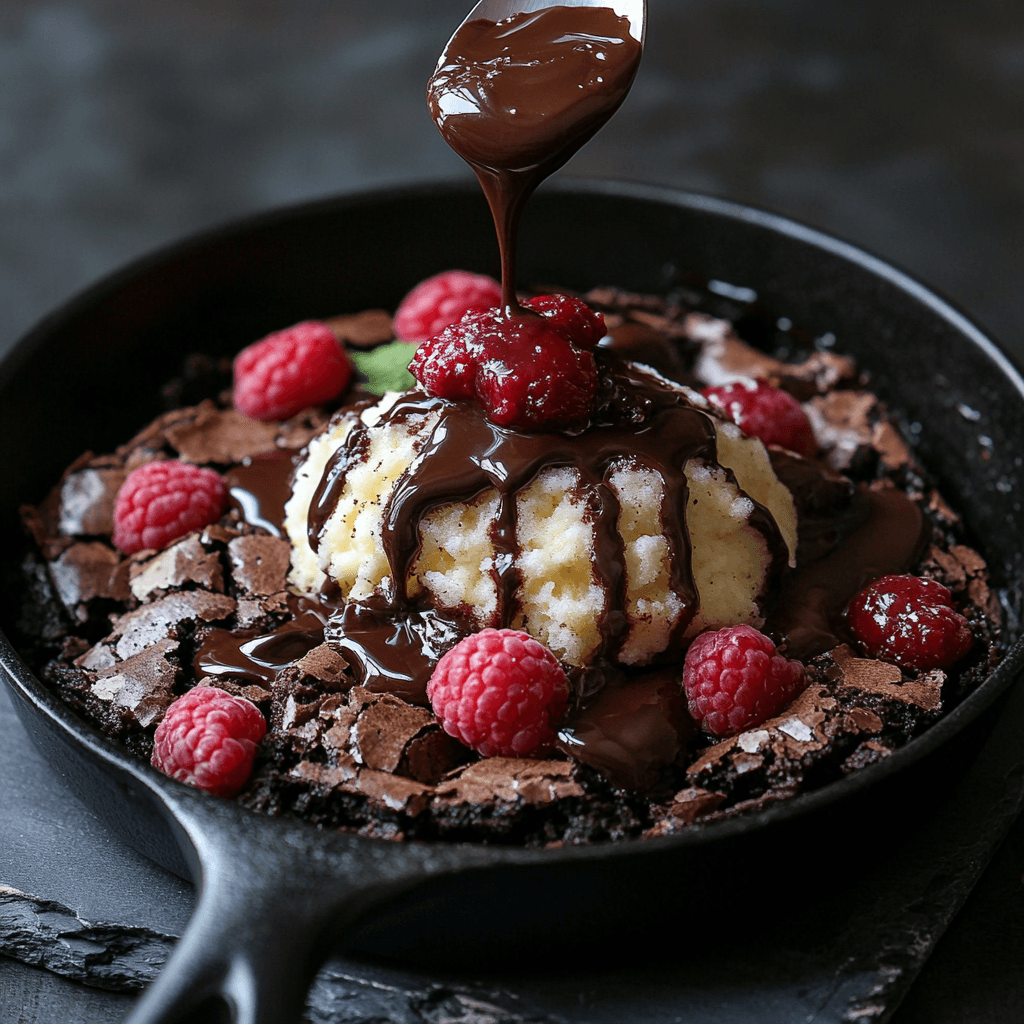
- Add a dollop of fresh whipped cream and a drizzle of chocolate or caramel sauce for instant decadence.
As a Sundae Base
- Turn your brownies into a full dessert with layers:
- Crumbled brownies
- Ice cream
- Chocolate sauce
- Nuts or sprinkles
- Cherry on top!
- Serve in small mason jars or dessert bowls for parties.
Cutting and Presentation Tips
- Cool brownies completely before slicing for clean, even edges.
- Use a sharp knife and wipe it clean between cuts.
- Serve on a dessert plate with a dusting of powdered sugar, a mint leaf, or berry garnish for a professional touch.
Scaling the Recipe Up or Down
Whether you’re baking for two or prepping for a party, this flexible brownie recipe can be easily adjusted without compromising on texture or taste.
Halving for Small Batches
- Halve all ingredients and use a loaf pan (9×5-inch) or a small square dish.
- Check for doneness early—start testing at 16–18 minutes.
- Ideal for small households or late-night chocolate cravings.
Doubling for a Crowd
- Double the recipe and bake in a 9×13-inch pan.
- Add 5–10 minutes to baking time, but begin testing around 28–30 minutes.
- Perfect for potlucks, bake sales, or big family gatherings.
Adjusting Baking Pans and Time
| Pan Size | Bake Time | Notes |
|---|---|---|
| 8×8-inch | 22–28 minutes | Default size for fudgy texture |
| 9×13-inch | 30–35 minutes | For doubled recipe |
| Loaf pan | 16–22 minutes | For half batch |
Tip: Thicker brownies need slightly longer bake times. Always use the toothpick test near the center to confirm doneness.
Frequently Asked Questions About Easy Saucepan Brownies
Can I use any saucepan?
Yes, but choose wisely:
- Use a medium saucepan with a heavy bottom to avoid burning the chocolate or butter.
- Nonstick is fine, but avoid scratching it with metal utensils.
- Don’t use a pot that’s too large—it can overheat ingredients or make mixing tricky.
Why are my brownies too gooey?
They may be:
- Underbaked — remove them when there are moist crumbs on a toothpick, not raw batter.
- Too much fat or too little flour — double-check your measurements.
- Not cooled enough — brownies firm up as they cool, so let them sit at least 20–30 minutes before slicing.
Do I need to sift flour?
It’s not required, but it helps:
- Sifting prevents clumps, especially with cocoa powder or if you’re using older flour.
- If not sifting, whisk your dry ingredients well before adding to the wet mixture.
Pro tip: For the smoothest texture, whisk flour and cocoa together in a separate bowl before folding into the saucepan mixture.
For even more deliciously easy brownie recipes, check out the Better-Than-Box-Mix Brownies, a homemade treat packed with rich flavor and fudgy texture. If you’re in the mood for no-bake simplicity, don’t miss these Chocolate Peanut Butter No-Bake Cookies—perfect for chocolate lovers in a hurry. And for a darker, bolder twist, try the Simple Dark Chocolate Brownies recipe, which highlights the depth and richness of dark cocoa in every bite.
🔗 Outbound Link Suggestion (for use in “Must-Have Ingredients” or “Texture Tips” section):
For expert tips on choosing high-quality baking chocolate and understanding cocoa percentages, visit King Arthur Baking’s chocolate guide — a trusted resource for home bakers.
Conclusion: Your Go-To One-Pot Brownie Recipe for Life
If you’re looking for a foolproof dessert that delivers on flavor, ease, and minimal cleanup, this one-pot brownie recipe is the one to bookmark. The saucepan method proves that homemade brownies don’t have to be complicated to be outrageously good. With rich, fudgy texture, customizable add-ins, and gluten- and dairy-free options, these brownies can fit just about any craving or occasion.
Whether you’re baking for a last-minute get-together, treating yourself after a long day, or teaching a beginner the joy of baking, these easy saucepan brownies will never let you down. One pan. One bowl. Endless chocolate satisfaction.


